
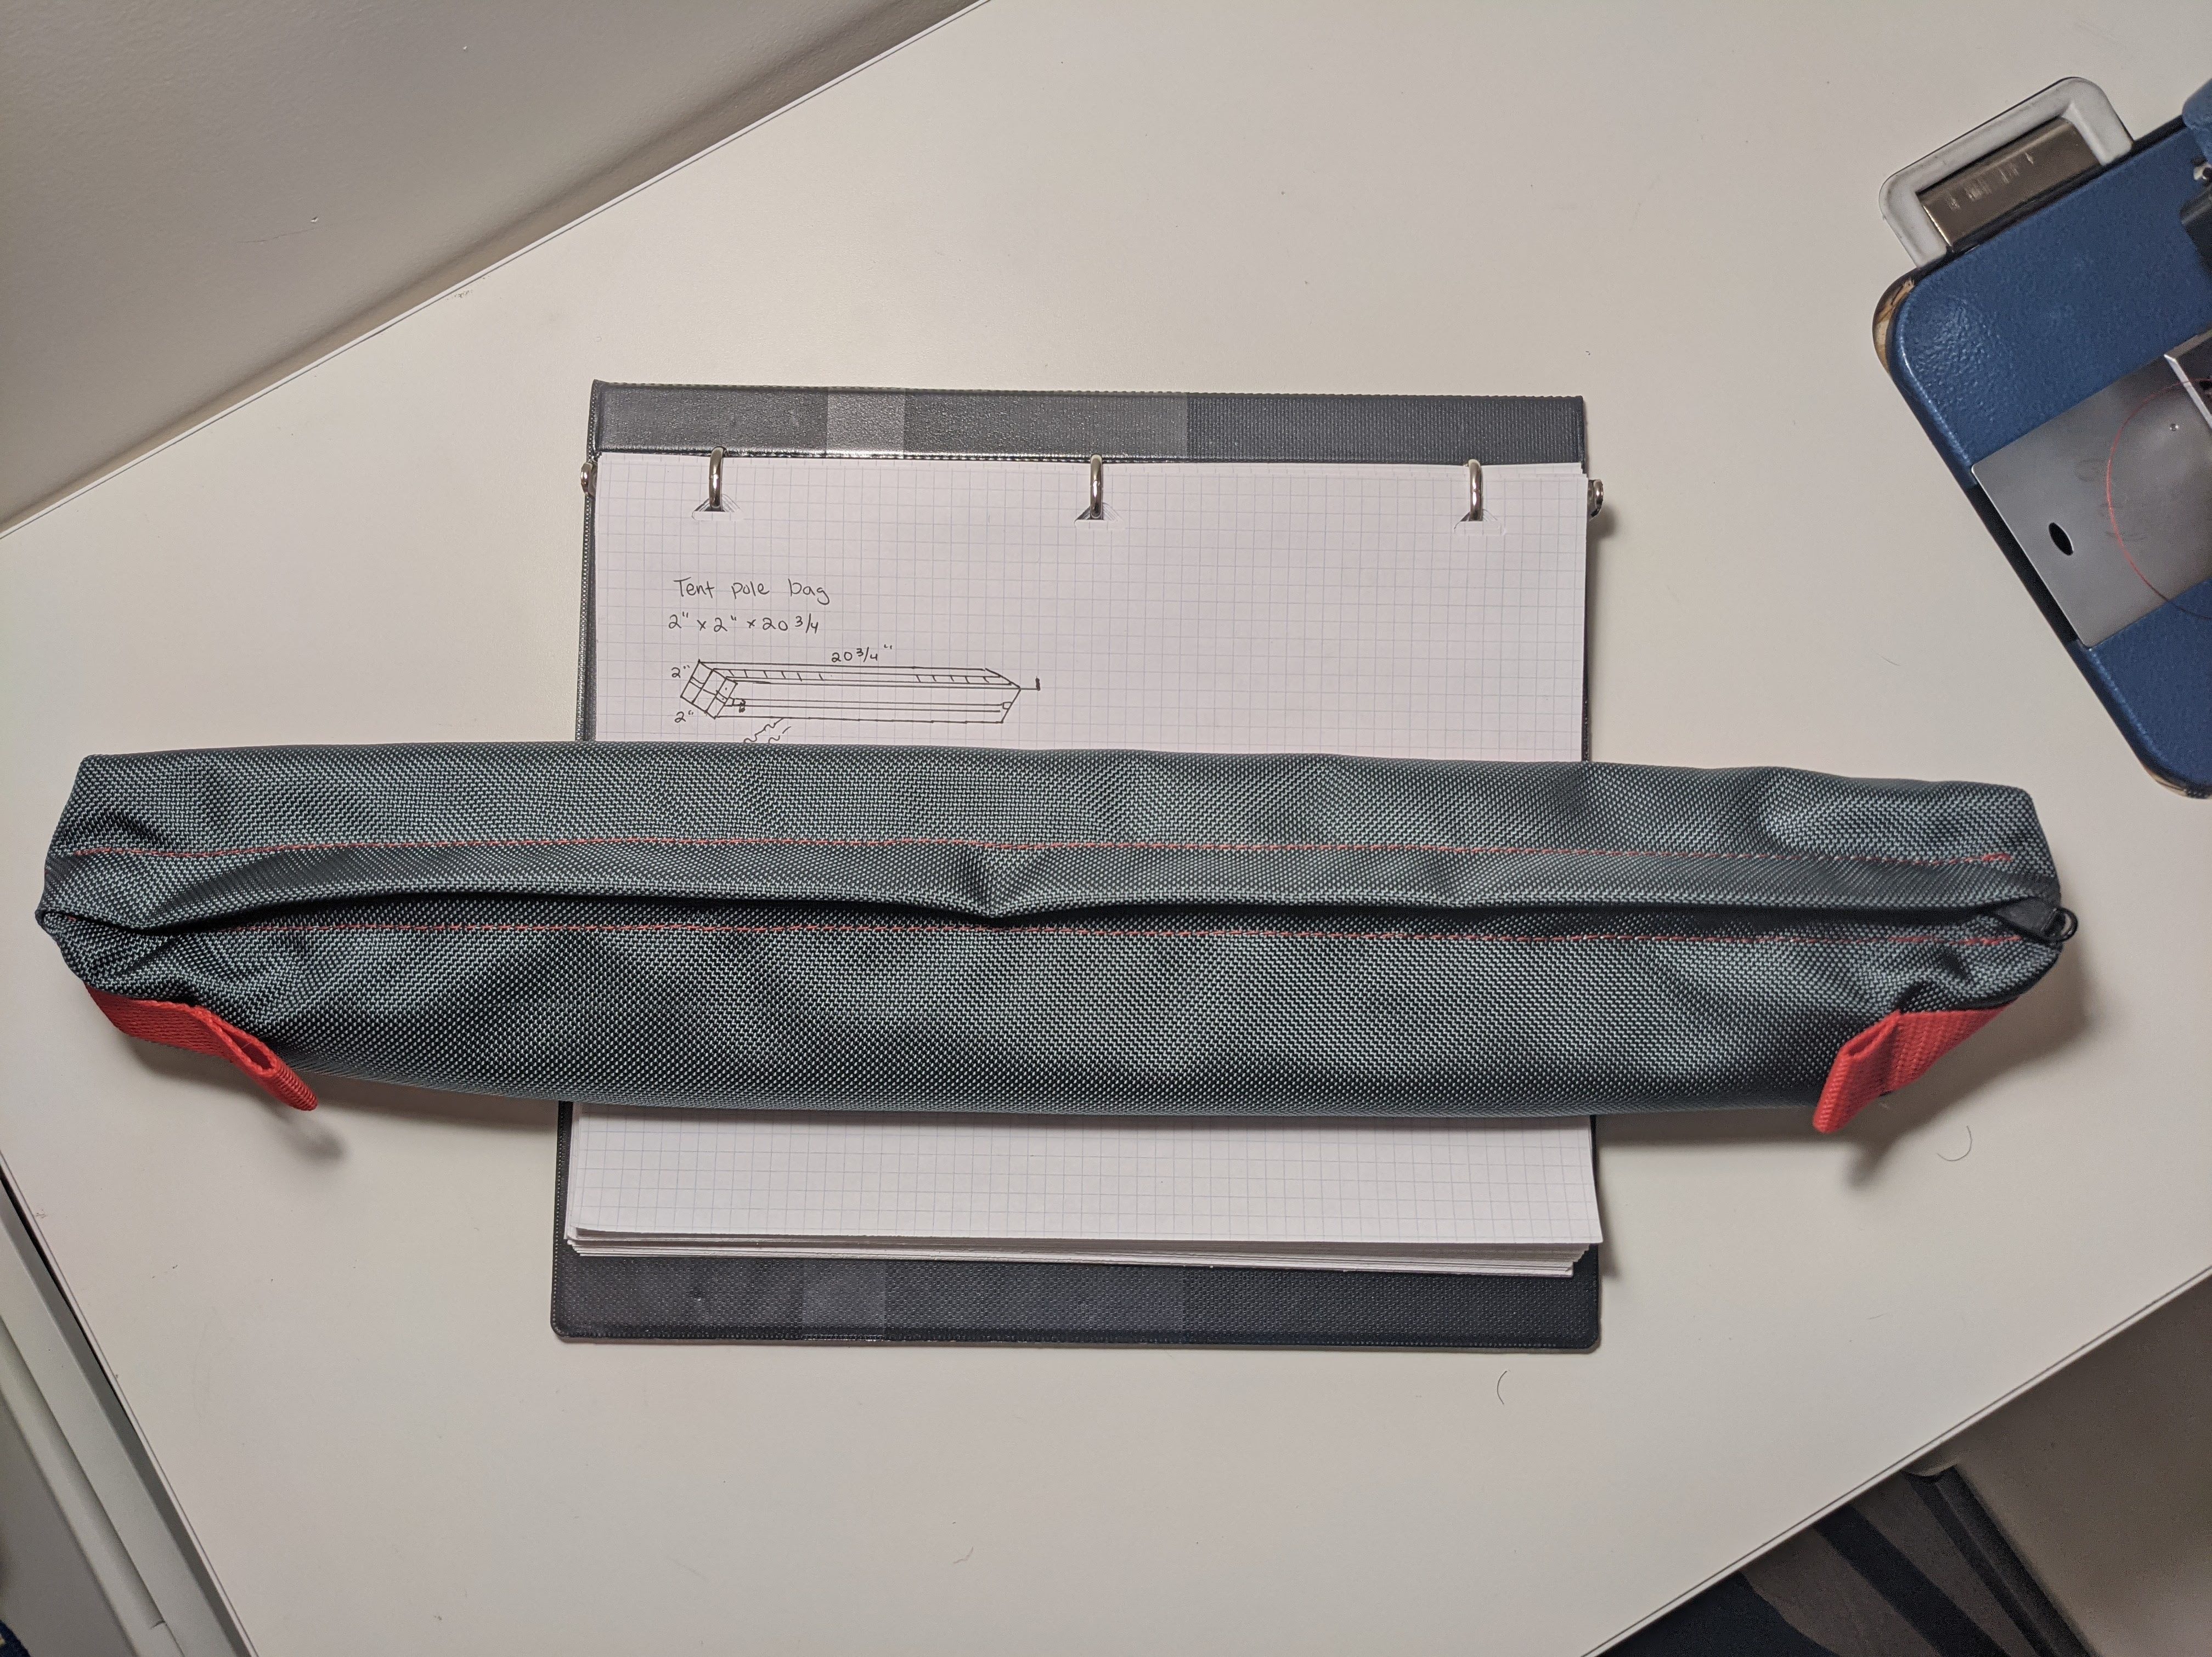
Custom work is always a great opportunity to stretch out a little and see how much progress I’ve made in patterning and sewing. This commission was for a tent pole bag to be attached to the top tube of a bike based on a few dimensional needs and a fixed price point. The principle feature was a PALS strip running the entire top and sides and terminating at the bottom corners with loops for extras.

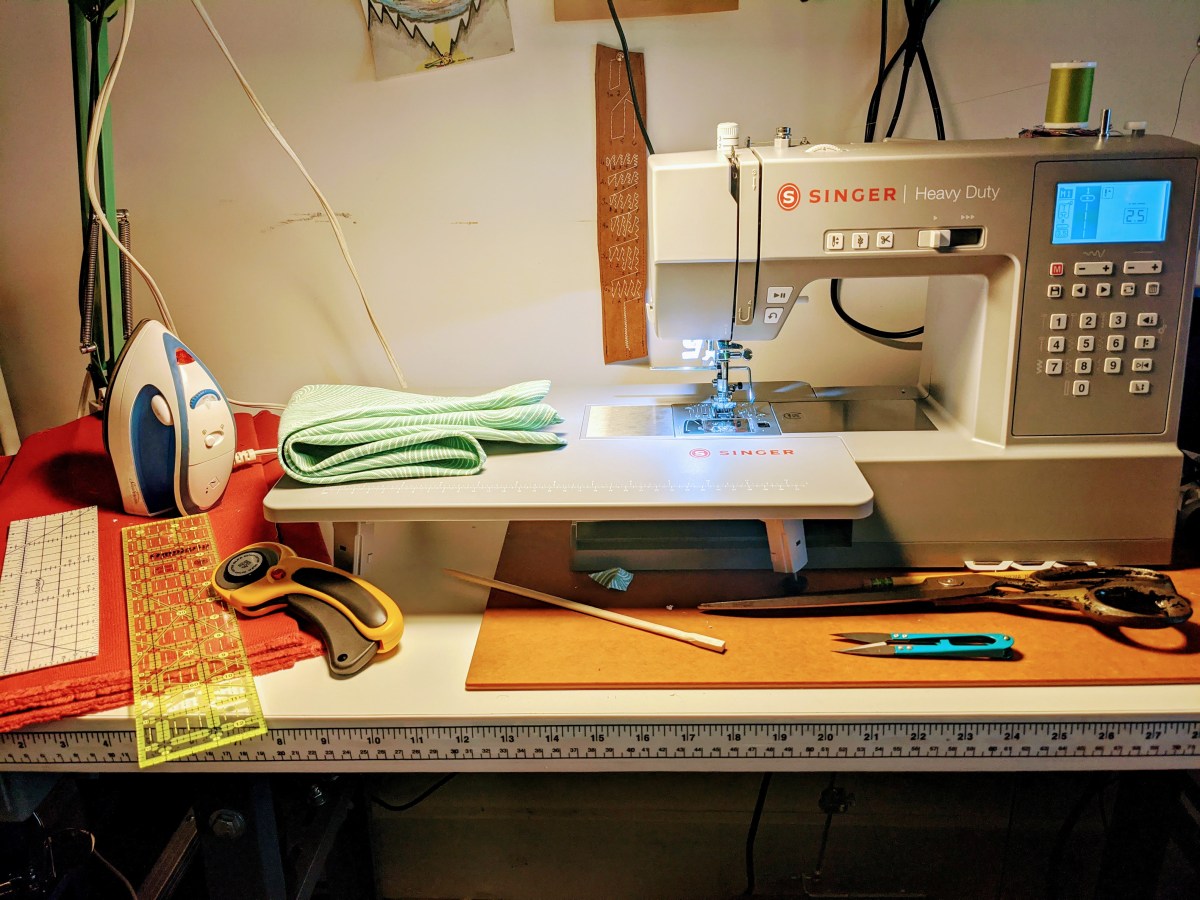
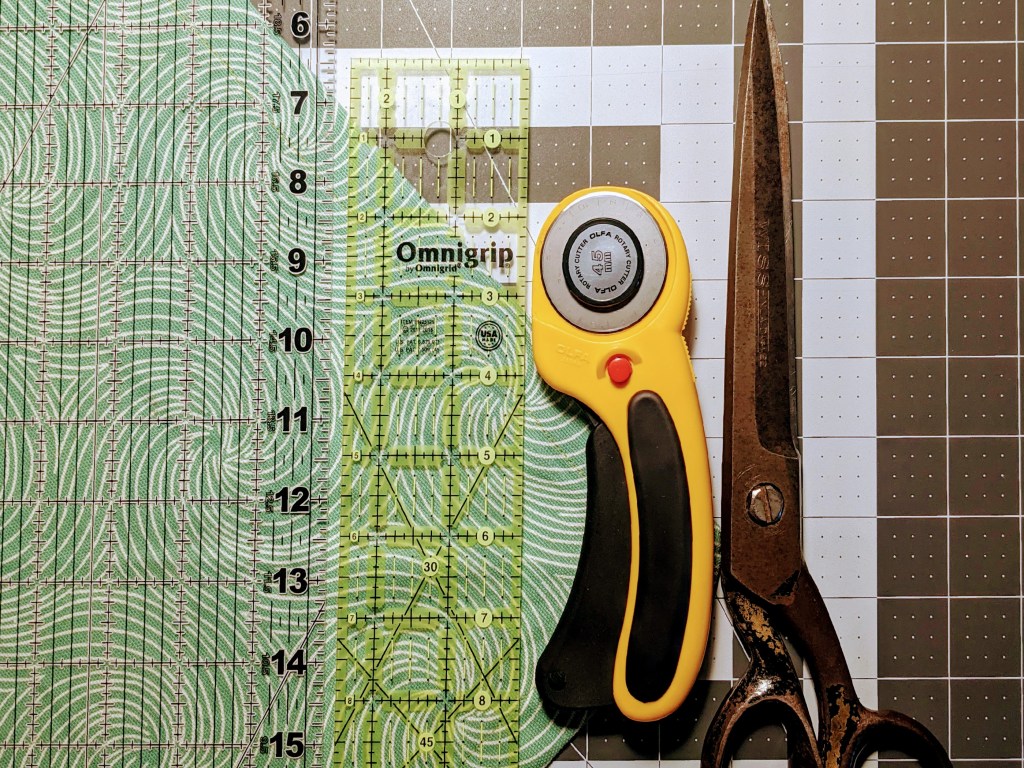
I find it helpful to think about patterning as the outside skin of a desired “box.” Here, I did some math adding up the heights and widths of the various faces on paper then laying them out in chalk on the inner face of the material. I find acrylic quilting rulers to be very useful in this step. The material was then cut out with a hot knife to seal the thread ends.
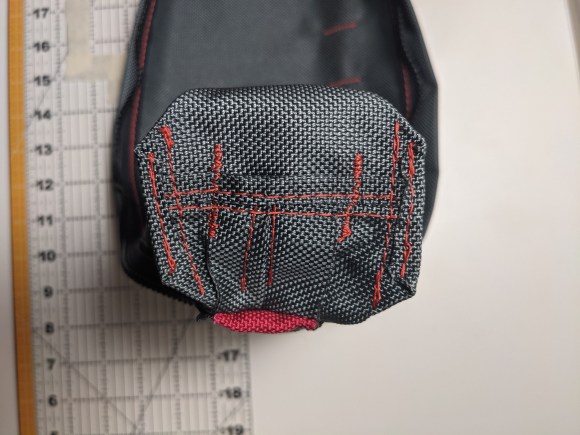
Inside view. Clean and even bartacks! 
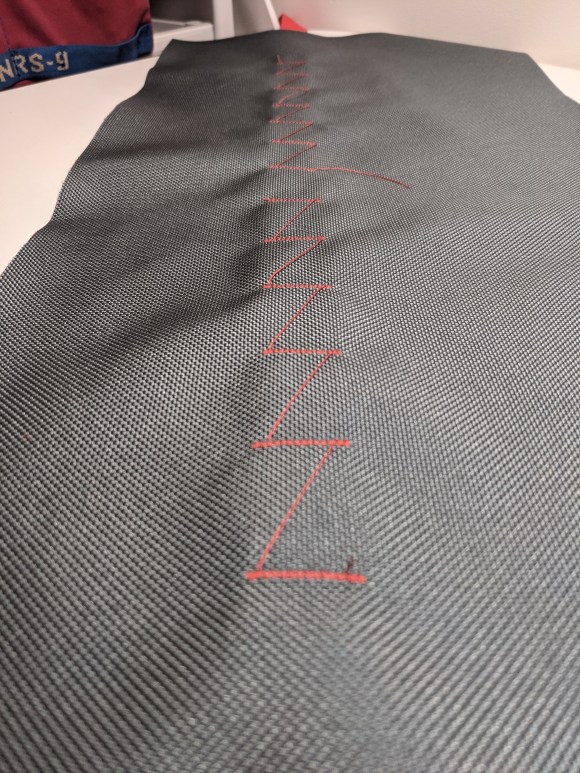
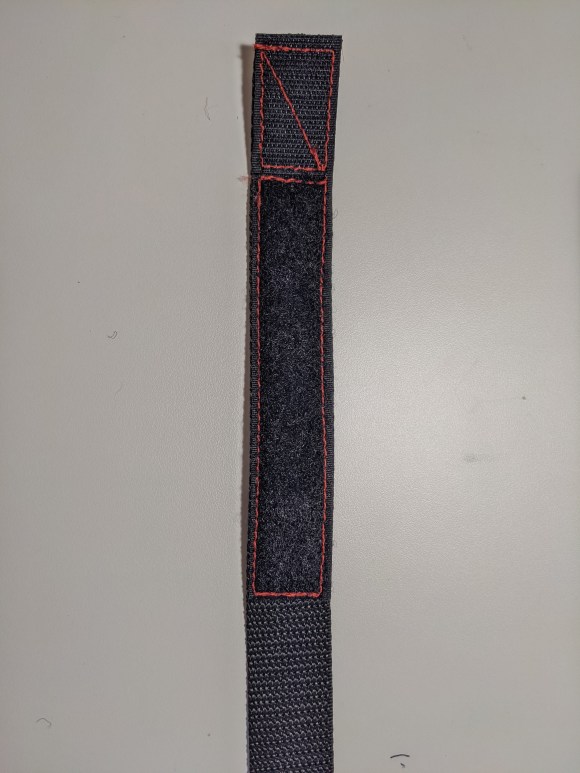
Top side of the PALS strip
Sewing on the PALS strip was a new challenge I wanted to get right. I believe I set the stitch up for 1.2 mm advances to 2mm width on the Sailrite LSZ-1. I later cleaned up the threads in between each tack seen as diagonal lines. This strip was used to affix custom velcro straps shown later.
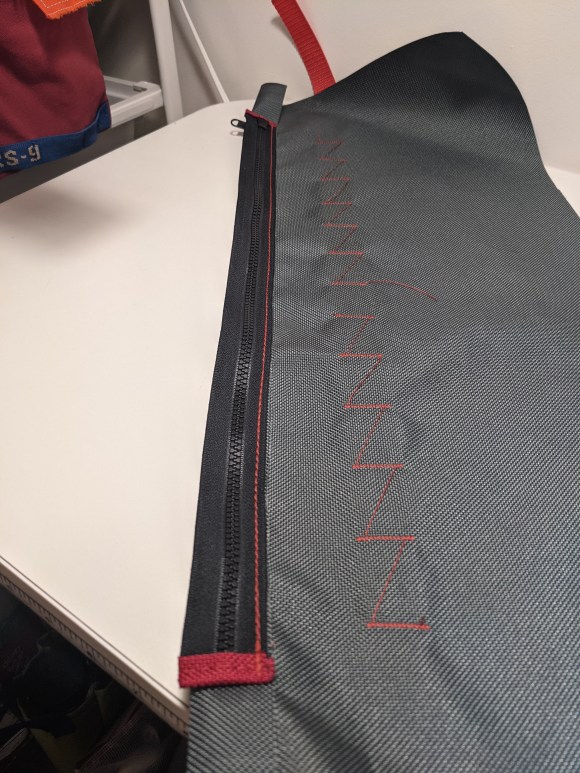
Zipper going on 
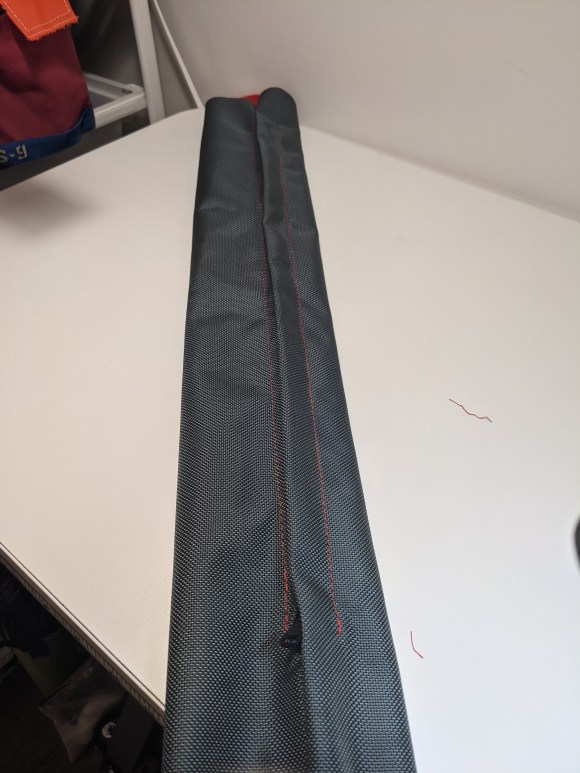
All zipped up
The zipper used was a YKK #5 Vislon zipper with metal, non locking zipper. I find vislon to outperform chain zippers in dirty environments, and in general feel too.
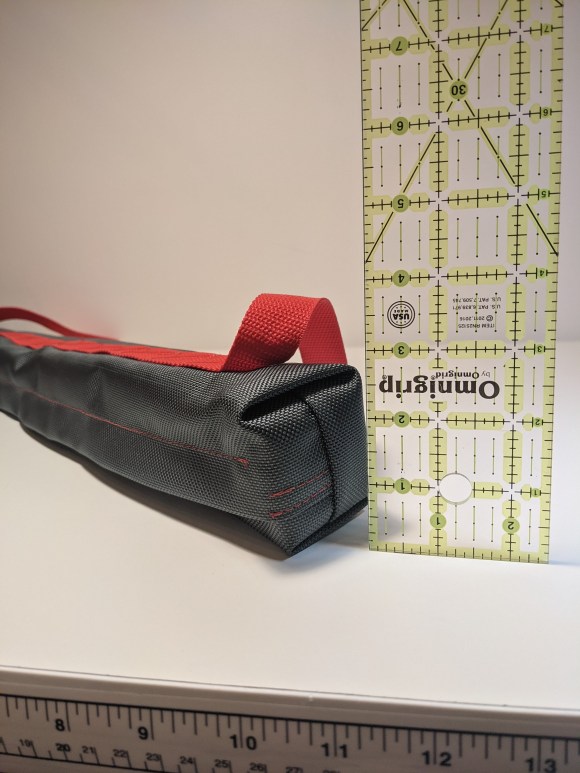

Ends sewn together. I sewed the tube first, then the ends, then the corners to shape the cylinder into a box to spec. It ended up being a little long and greater in circumference than was asked, about a 1/4″ which I hope is acceptable.

Thanks for reading!
– Mirkat